Install Serverless and Cloud Events on an existing cluster using GitOps
Note
This is a work in progress, come back for updates.
Overview
This guide will illustrate the steps to install Serverless and Cloud Events in an existing cluster using ArgoCD provided by Red Hat OpenShift GitOps operator.
Additionally it shows the steps to configure Red Hat Openshift Pipelines operator based on Tekton to send cloud events and steps to configure a "slack-notification" app to receive those events.
Install Serverless and Cloud Eventing
Pre-requisites
The following is required before proceeding to the next section.
- Provision an OpenShift cluster.
- Login to the cluster via the oc cli.
Installation Steps
-
Fork the multi-tenancy-gitops repository and clone your fork.
git clone git@github.com:{gitid}/multi-tenancy-gitops.git -
Change to the
kustomizebranch of your fork.cd multi-tenancy-gitops git checkout kustomize -
Install the Red Hat OpenShift GitOps operator.
- For Openshift 4.6
oc apply -f setup/ocp46/ - For Openshift 4.7
oc apply -f setup/ocp47/
- For Openshift 4.6
-
Update the files to reference your forked repository. Run the
set-git-source.shscript that will replacecloud-native-toolkitGithub Org references with your {gitid}.export GIT_USER={gitid} ./scripts/set-git-source.sh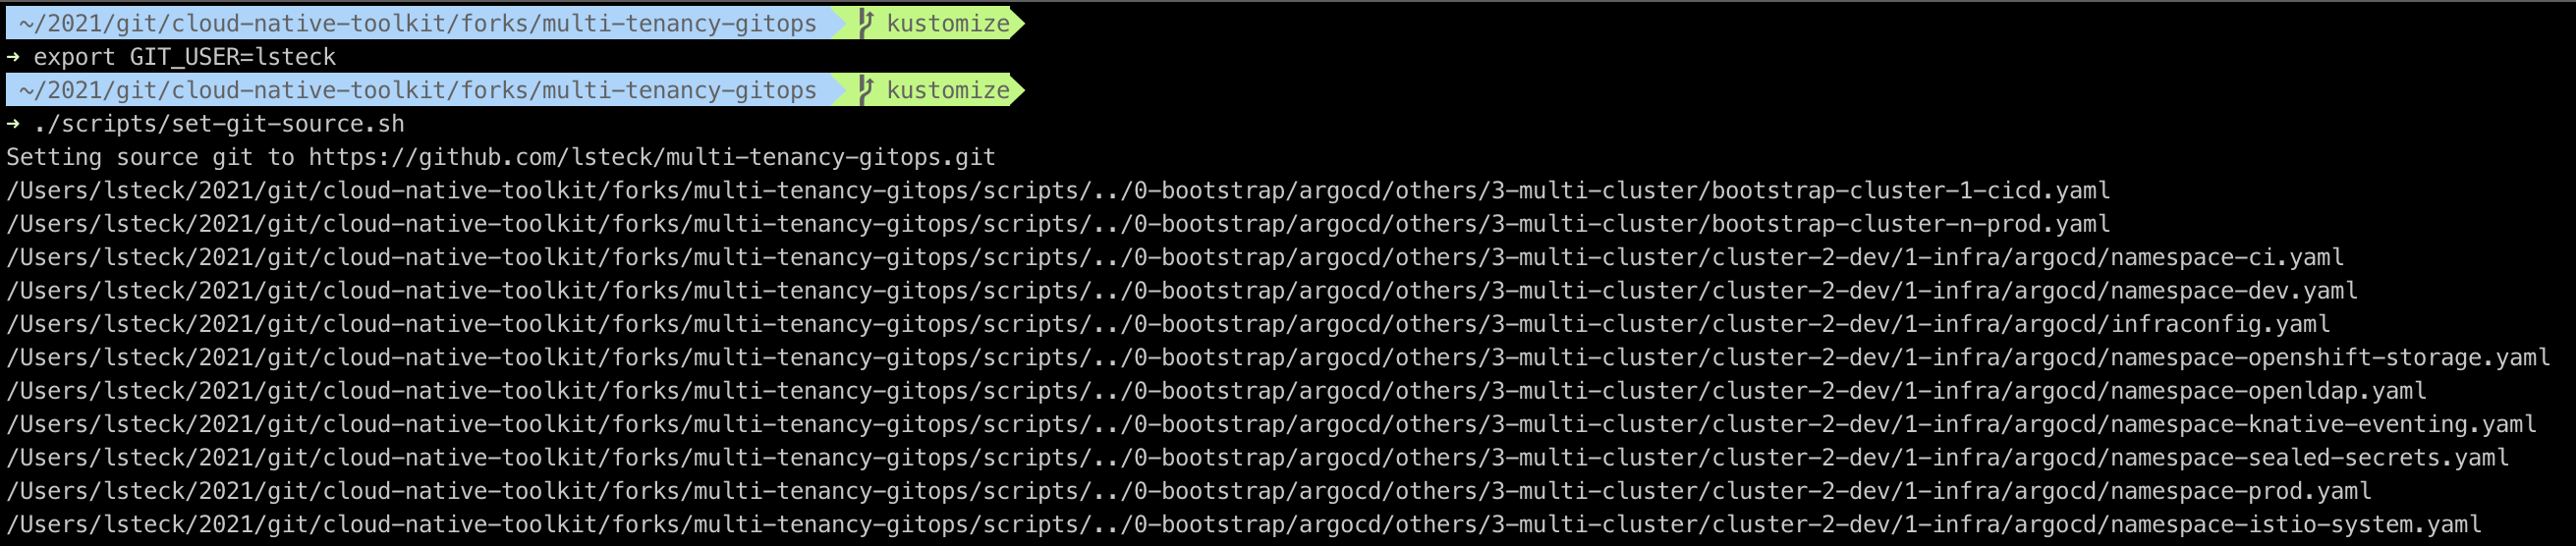
-
Push the changes to your forked repository.
git add .
git commit -m "push repo gitid changes"
git push
-
Their are different deployment options provided in folders in the repository. In this guide we will use the default
single-serverdeployment. The other options are located in theothersfolder../0-bootstrap └── argocd ├── bootstrap.yaml ├── others │ ├── 1-shared-cluster │ ├── 2-isolated-cluster │ └── 3-multi-cluster └── single-cluster -
If you choose to use a different deployment option edit the
0-bootstrap/argocd/bootstrap.yamland modify thespec.source.pathand update themetadata.nameaccordingly. For example to use the1-shared-clusterchange the path to0-bootstrap/argocd/others/1-shared-cluster.apiVersion: argoproj.io/v1alpha1 kind: Application metadata: name: bootstrap-1-shared-cluster namespace: openshift-gitops spec: destination: namespace: openshift-gitops server: https://kubernetes.default.svc project: default source: path: 0-bootstrap/argocd/others/1-shared-cluster repoURL: https://github.com/lsteck/multi-tenancy-gitops.git targetRevision: kustomize syncPolicy: automated: prune: true selfHeal: true -
In this guide we will use the unchanged
0-bootstrap/argocd/bootstrap.yamlwhich uses thesingle-clusterdeployment.apiVersion: argoproj.io/v1alpha1 kind: Application metadata: name: bootstrap-single-cluster namespace: openshift-gitops spec: destination: namespace: openshift-gitops server: https://kubernetes.default.svc project: default source: path: 0-bootstrap/argocd/single-cluster repoURL: https://github.com/lsteck/multi-tenancy-gitops.git targetRevision: kustomize syncPolicy: automated: prune: true selfHeal: true -
Under the cluster's folder there are
1-infra,2-servicesand3-appsfolders which define what infrastructure, services and app resources are to be deployed respectively../0-bootstrap └── argocd ├── bootstrap.yaml ├── others └── single-cluster ├── 1-infra ├── 2-services ├── 3-apps ├── bootstrap.yaml └── kustomization.yaml -
Open the
kustomization.yamlfile under the1-infrafolder./0-bootstrap └── argocd ├── bootstrap.yaml ├── others └── single-cluster └── 1-infra ├── 1-infra.yaml ├── argocd └── kustomization.yaml -
Uncomment the lines under the
# Openshift Serverless/Eventingsection to deploy those resources.# Openshift Serverless/Eventing - argocd/namespace-openshift-serverless.yaml - argocd/namespace-knative-serving.yaml - argocd/namespace-knative-eventing.yaml -
Open the
kustomization.yamlfile under the2-servicesfolder./0-bootstrap └── argocd ├── bootstrap.yaml ├── others └── single-cluster ├── 1-infra └── 2-services ├── 1-infra.yaml ├── argocd └── kustomization.yaml -
Uncomment the lines under the
# Openshift Serverless/Eventingsection to deploy those resources.# Openshift Serverless/Eventing - argocd/operators/openshift-serverless.yaml - argocd/instances/knative-eventing-instance.yaml -
Installing the Serverless and Eventing doesn't require any resources under the
3-appsfolder so thekustomization.yamlin that folder doesn't need to be changed. -
Push the changes to your forked repository.
git add . git commit -m "push serverless and eventing" git push -
Create the bootstrap ArgoCD application.
oc apply -f 0-bootstrap/argocd/bootstrap.yaml -n openshift-gitops -
From the OpenShift console launch ArgoCD by clicking the
ArgoCDlink from the Applications (9 squares) menu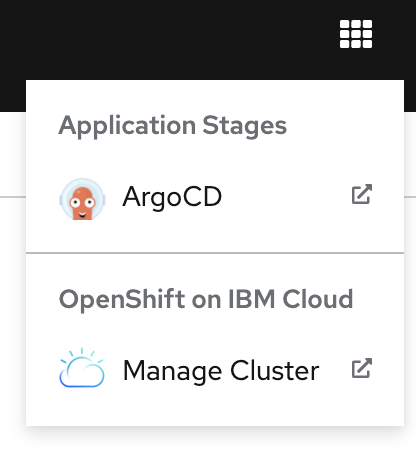
-
The ArcoCD user id is
adminand the password can be found in theargocd-cluster-clustersecret in theopenshift-gitopsproject namespace. You can extract the secret with the commandoc extract secret/argocd-cluster-cluster --to=- -n openshift-gitops -
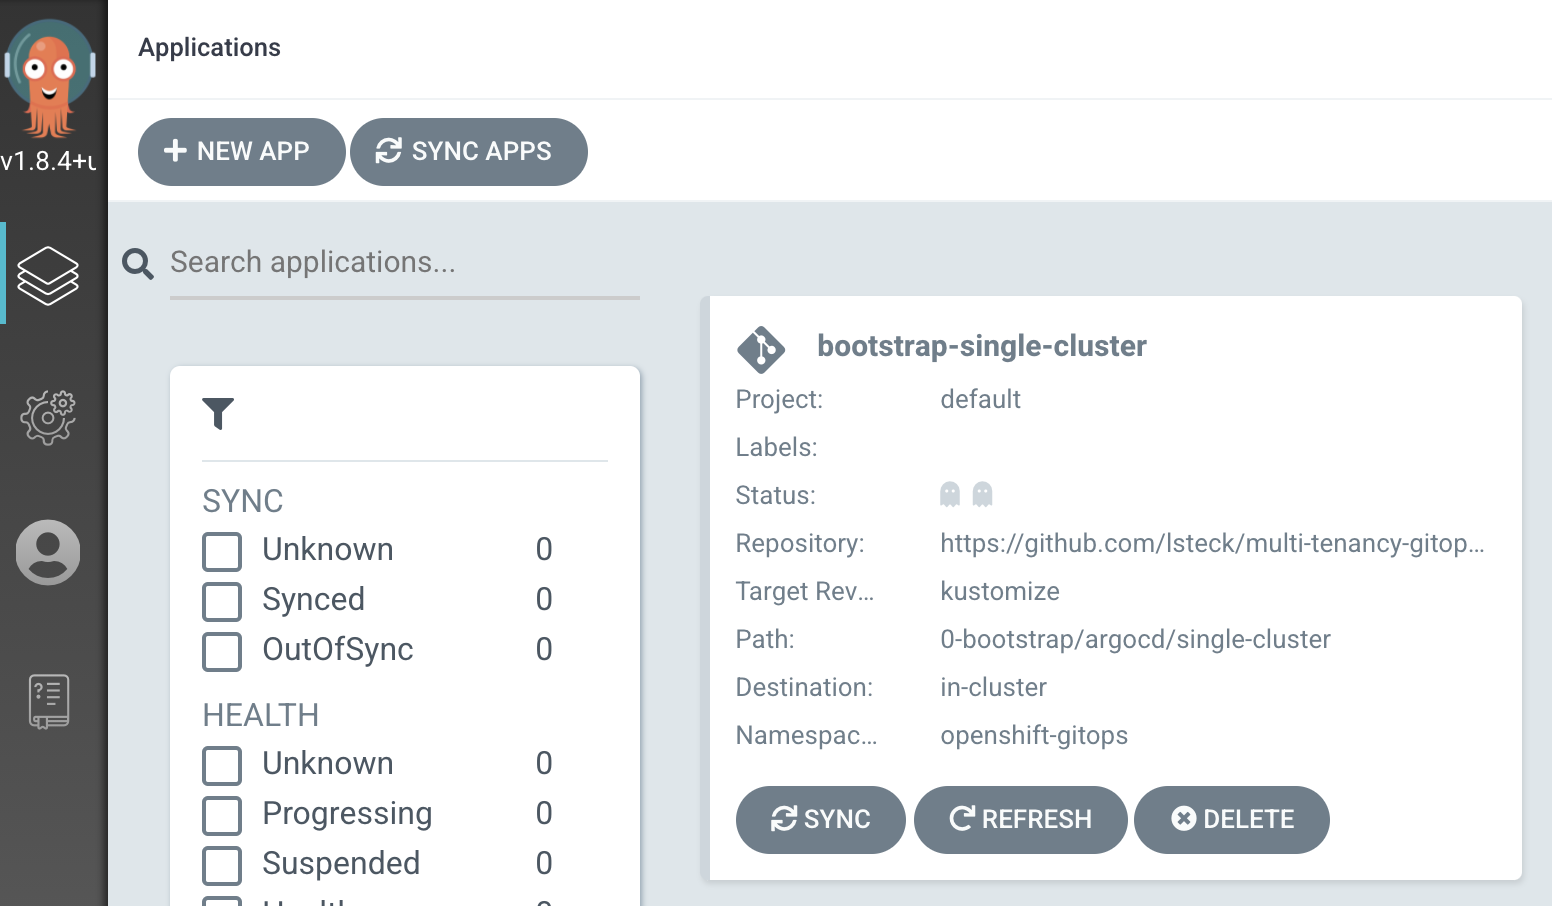
On the ArgoCD UI you can see the newly created bootstrap application.
-
After several minutes you will see all the other ArgoCD applications with a status
HealthyandSynced. The status will progress fromMissing,OutOfSync,Syncing. If you see a status ofSync failedthere were errors.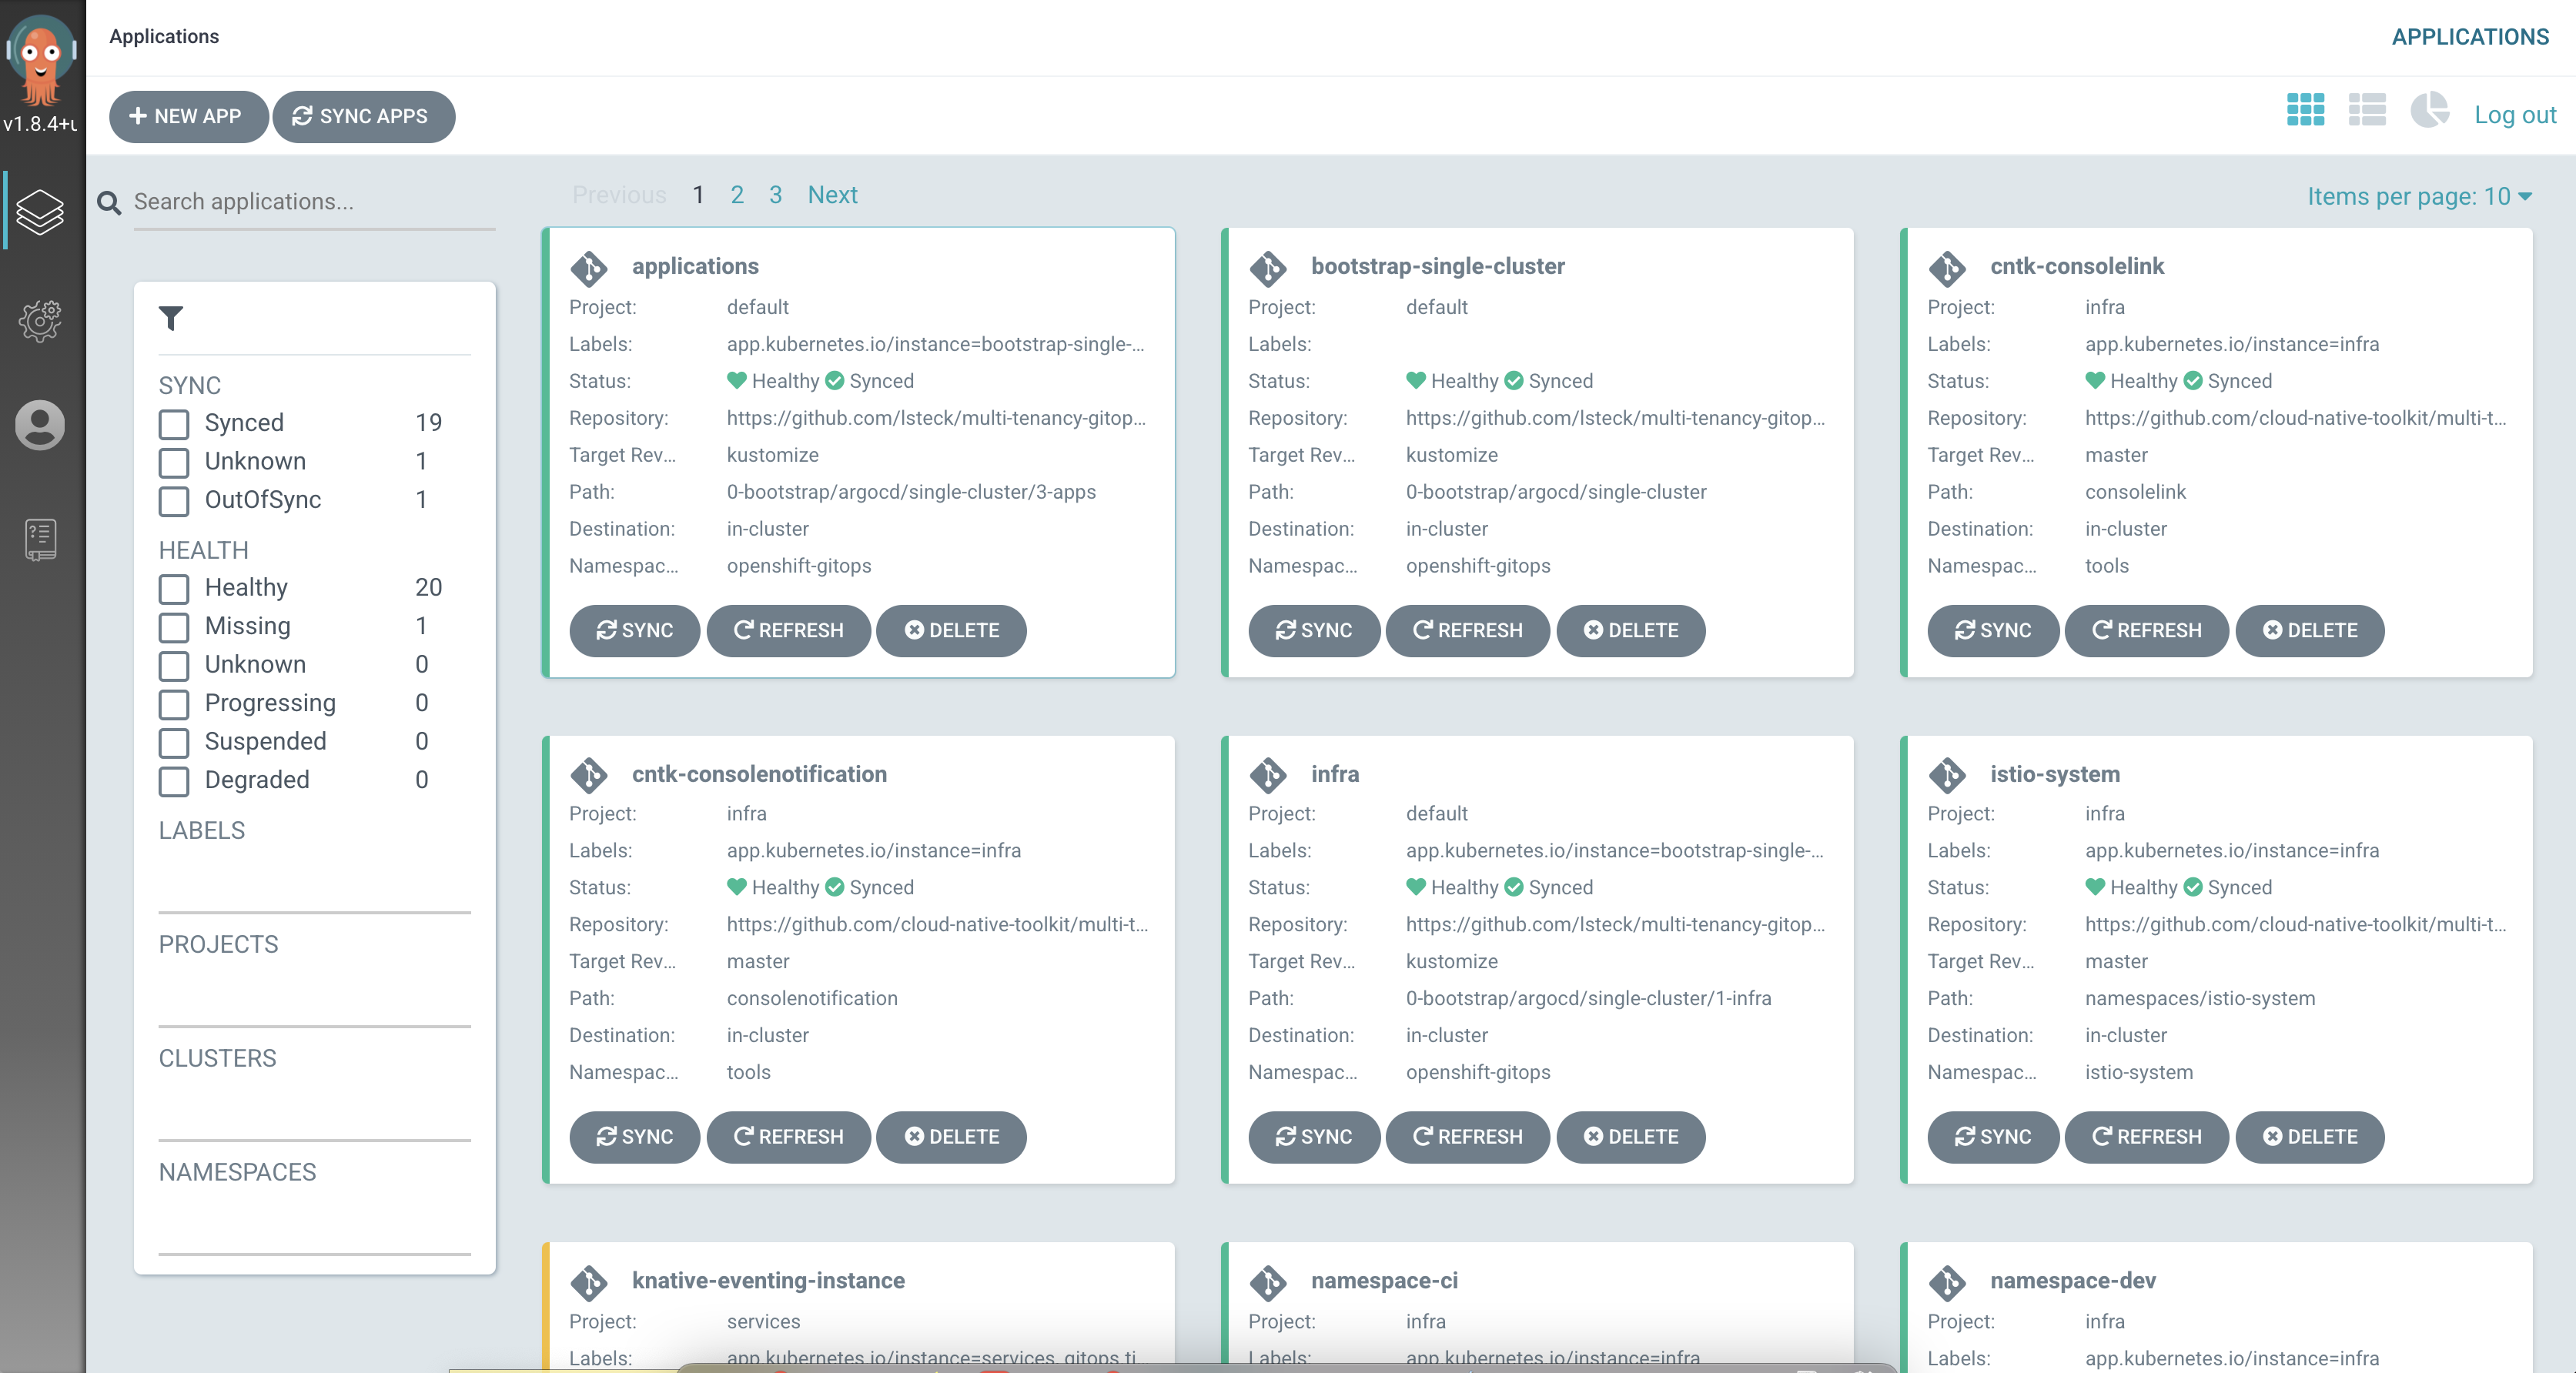
-
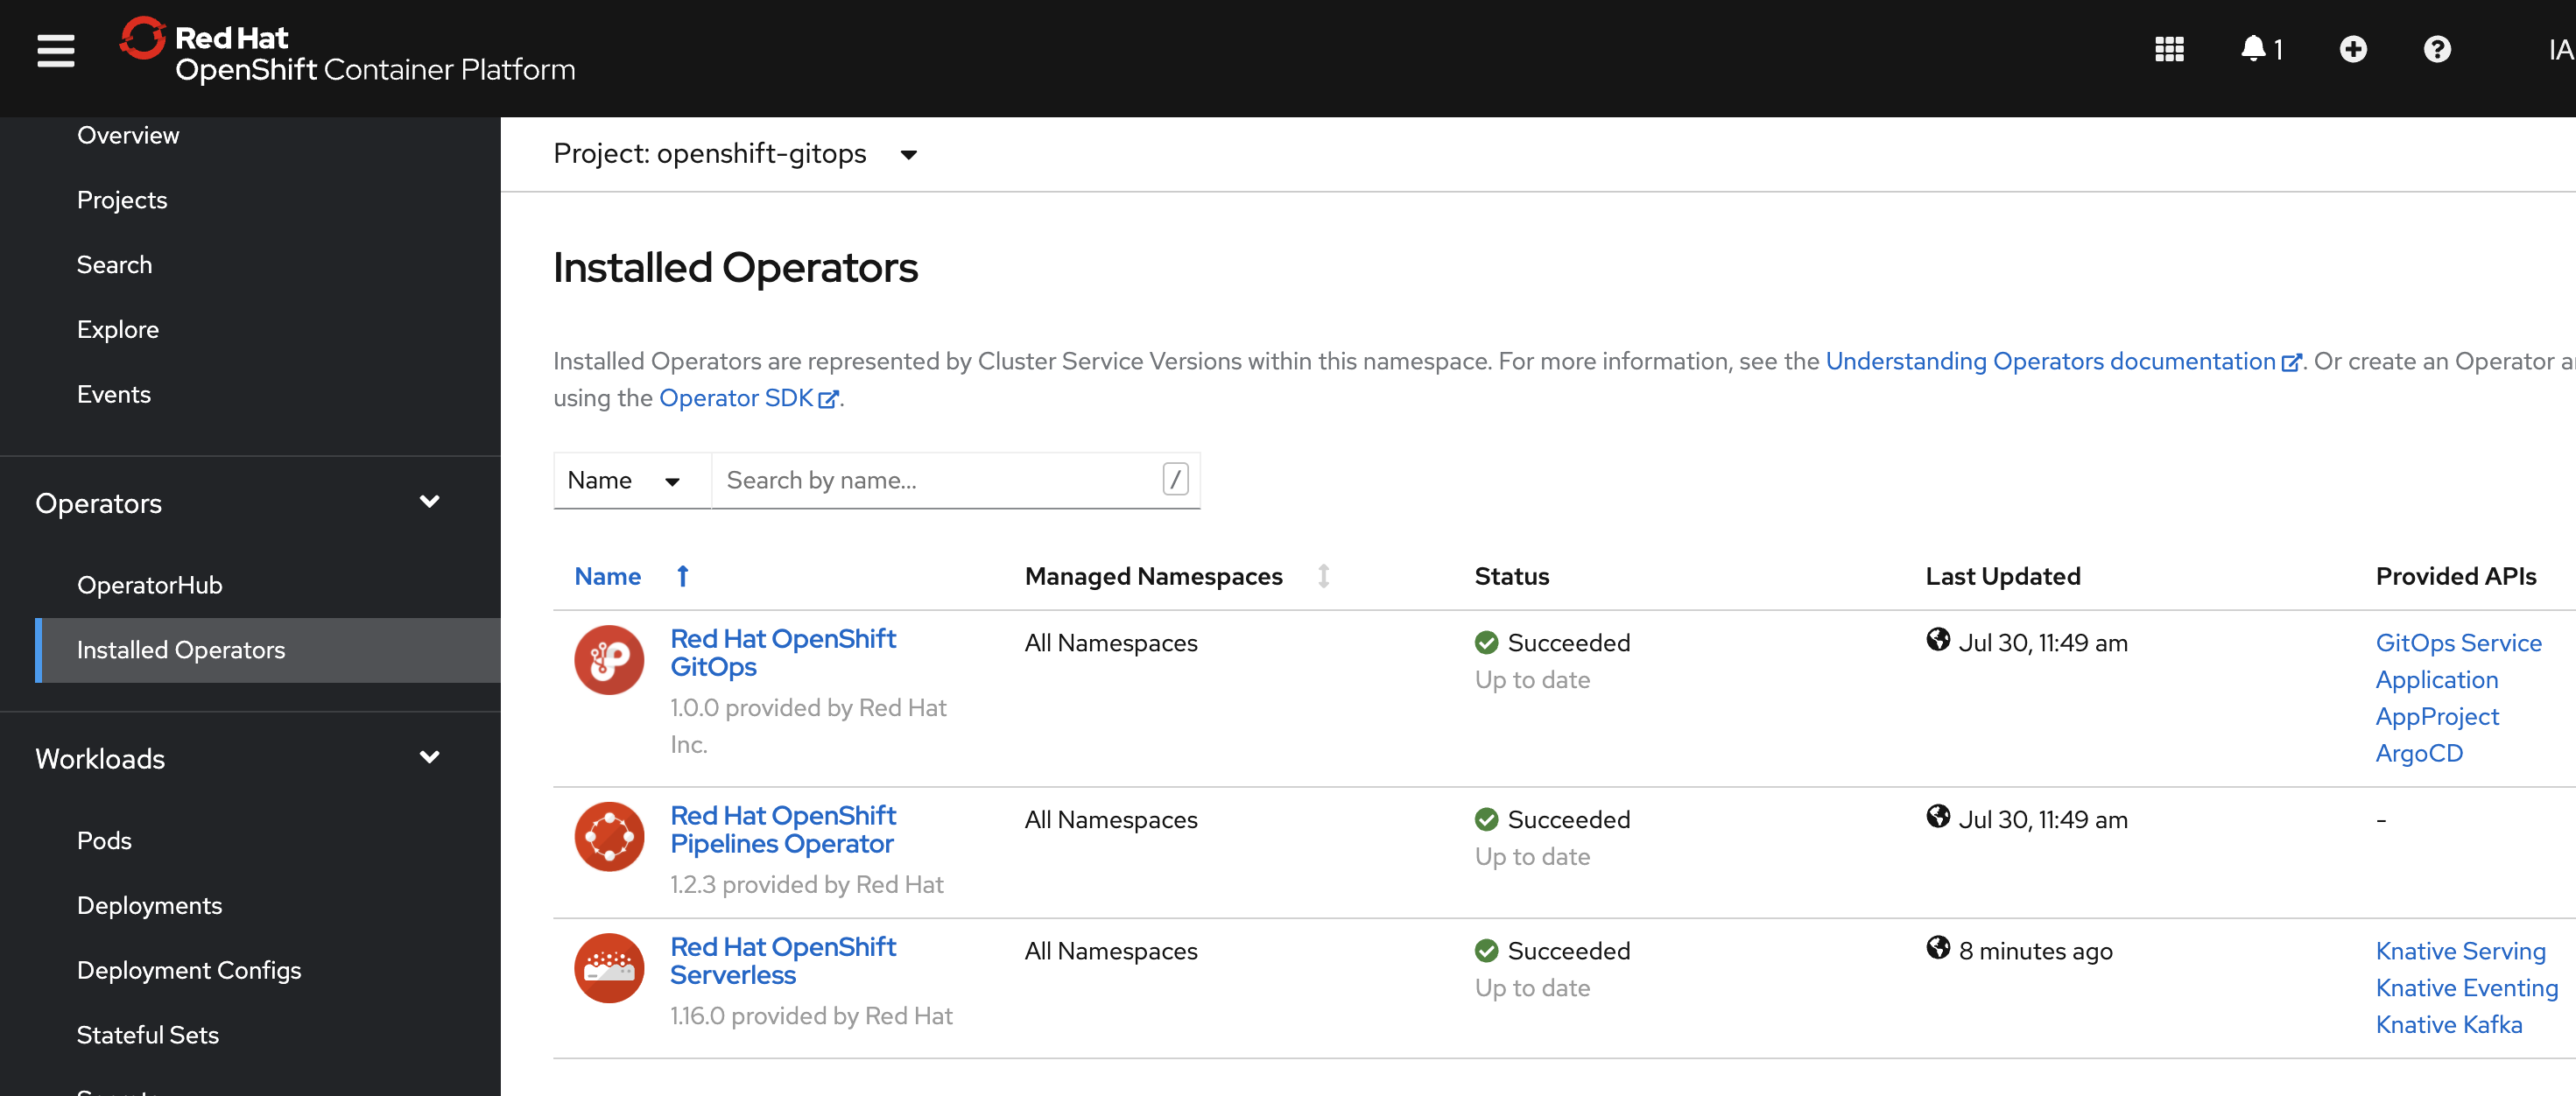
You can check that the Red Hat OpenShift Serverless operator that provides serverless and eventing capabilities has been installed from the Installed Operators page on the console.
Install Slack Notification app and configure Tekton to emit Cloud Events
Note
Both installation steps could be performed at the same time. They were broken out in this guide to illustrate how you could install Serverless and Eventing without installing the Slack Notification app.
Pre-requisites
The following are required before proceeding.
- Compete the previous section Install Serverless and Cloud Eventing
- Create a Slack Incoming Webhook.
Installation Steps
-
Open the
kustomization.yamlfile under the1-infrafolder./0-bootstrap └── argocd ├── bootstrap.yaml ├── others └── single-cluster └── 1-infra ├── 1-infra.yaml ├── argocd └── kustomization.yaml -
Uncomment the lines under the
# Slack Notificationssection to deploy those resources.# Slack Notifications - argocd/namespace-slack-notifications.yaml -
Push the changes to your forked repository.
git add . git commit -m "push slack notifications namespace" git push -
After a few minutes you should see see an ArgoCD
namespace-slack-notificationsapp. This app creates theslack-notificationsproject namespace where we will deploy the slack notification app.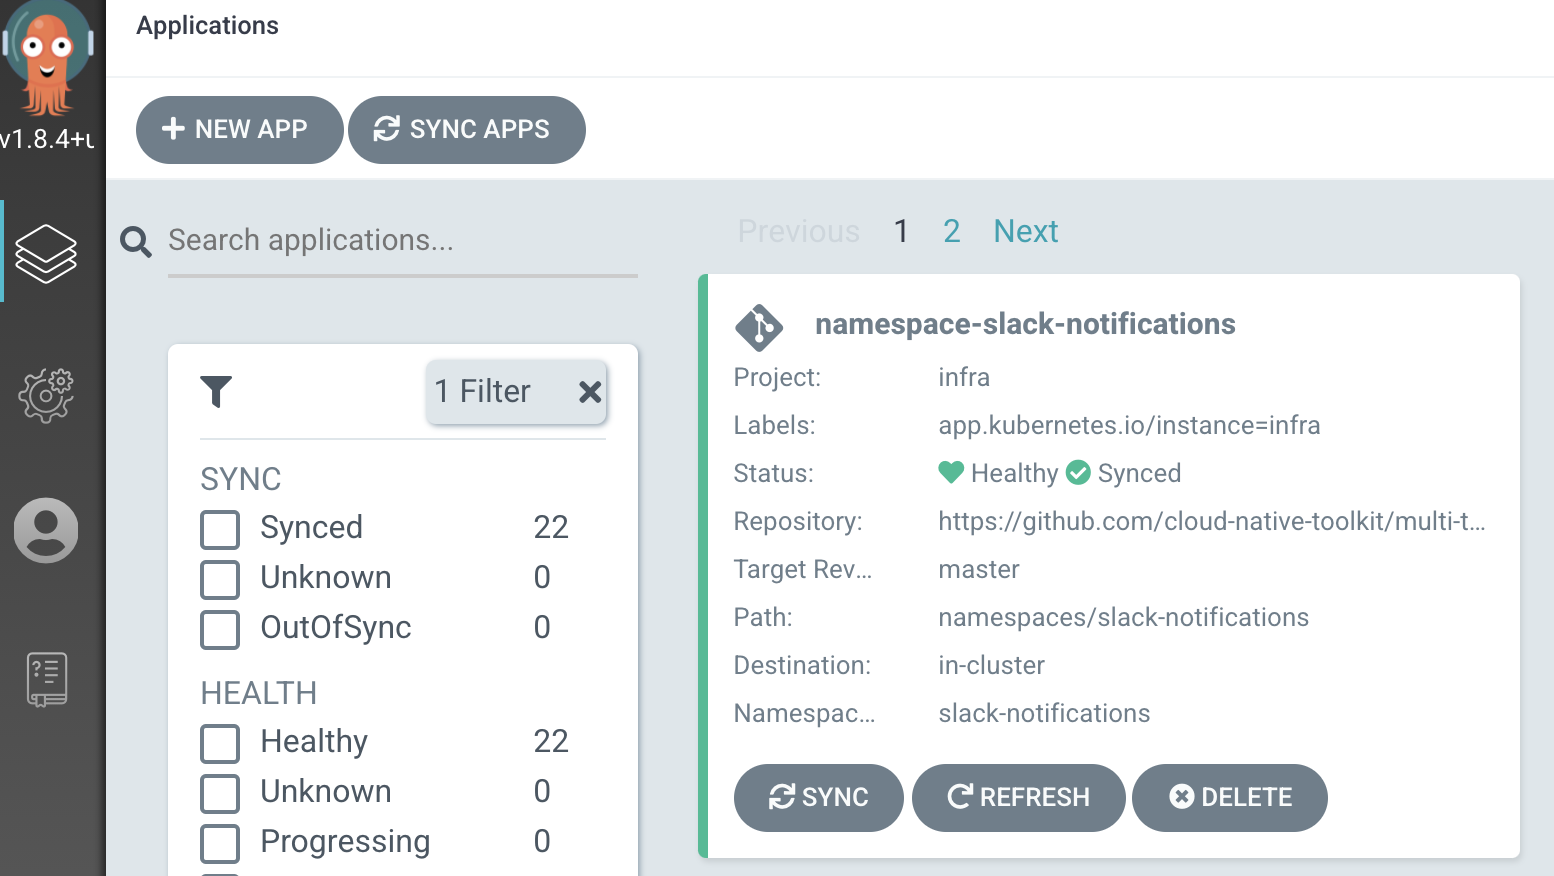
-
Before we deploy the app we need to create a secret to store the slack incoming webhook you created as a pre-requisite. This secret needs to be in the
slack-notificationsproject namespace. You can generate an encrypted secret containing the slack notification webhook using the Sealed Secret Operator or you can manually create the secret as follows NOTE: replace<webhook-url>with your slack webhook url .WEBHOOK=<webhook-url> oc project slack-notifications oc create secret generic slack-secret \ --from-literal=SLACK_URL=${WEBHOOK} -
Installing the Slack Notification app doesn't require any resources under the
2-servicesfolder so thekustomization.yamlin that folder doesn't need to be changed. -
Open the
kustomization.yamlfile under the3-appsfolder./0-bootstrap └── argocd ├── bootstrap.yaml ├── others └── single-cluster ├── 1-infra ├── 2-services └── 3-apps ├── 3-apps.yaml ├── argocd └── kustomization.yaml -
Uncomment the lines under the
# Slack Notificationssection to deploy those resources.# Slack Notifications - argocd/slack-notifications/slack-notifications.yaml - argocd/shared/config/openshift-pipelines/configmap/openshift-pipelines-config.yaml -
If you changed the slack-secret name or key you need to update the secret name and key value in the
slack-notification.yaml-
Open
slack-notifications.yaml./0-bootstrap └── argocd └── single-cluster └── 3-apps └── argocd └── slack-notifications └── slack-notifications.yaml -
Modify the name and key to match your secret name and the key name.
  secret:
    # provide name of the secret that contains slack url
    name: slack-secret
    # provide key of the secret that contains slack url
    key: SLACK_URL
-
-
Push the changes to your forked repository.
git add . git commit -m "push slack notifications app" git push -
After a few minutes you will see an
apps-slack-notificationsArgoCD app and aopenshift-pipelines-configArgoCD app.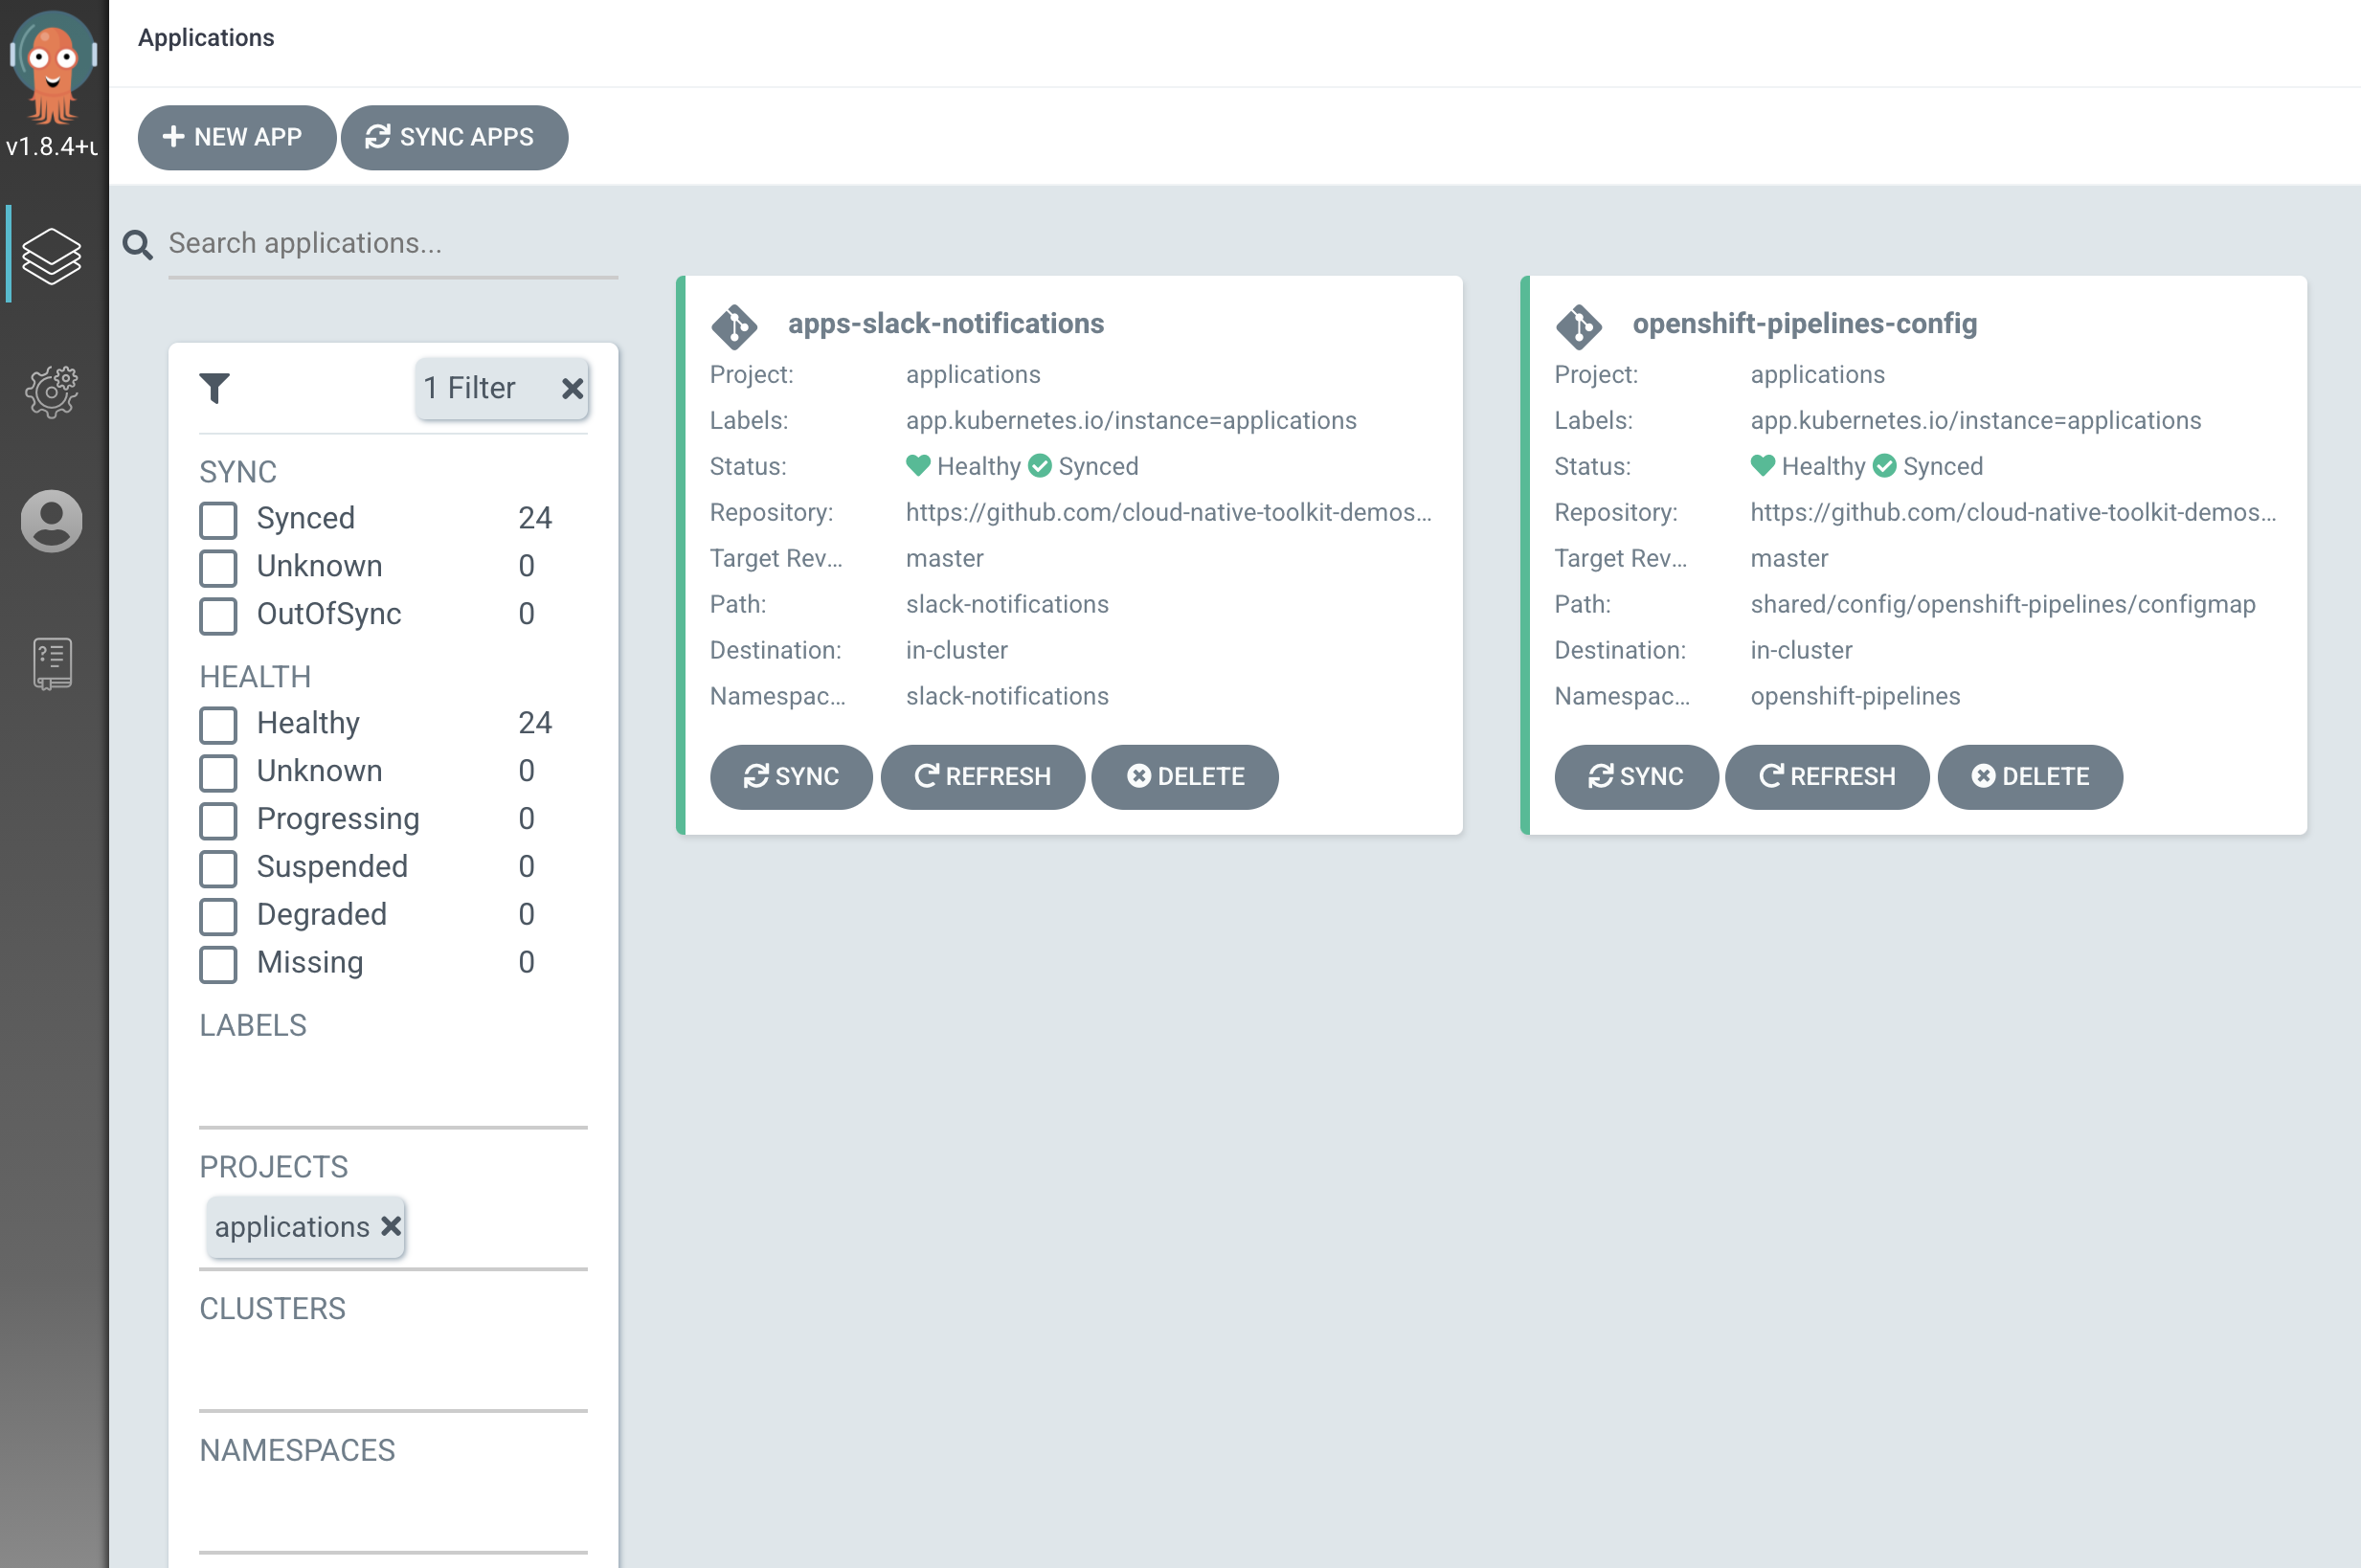
-
On the OpenShift Console you can see the slack notifications app deployment in the
slack-notificationsproject namespace.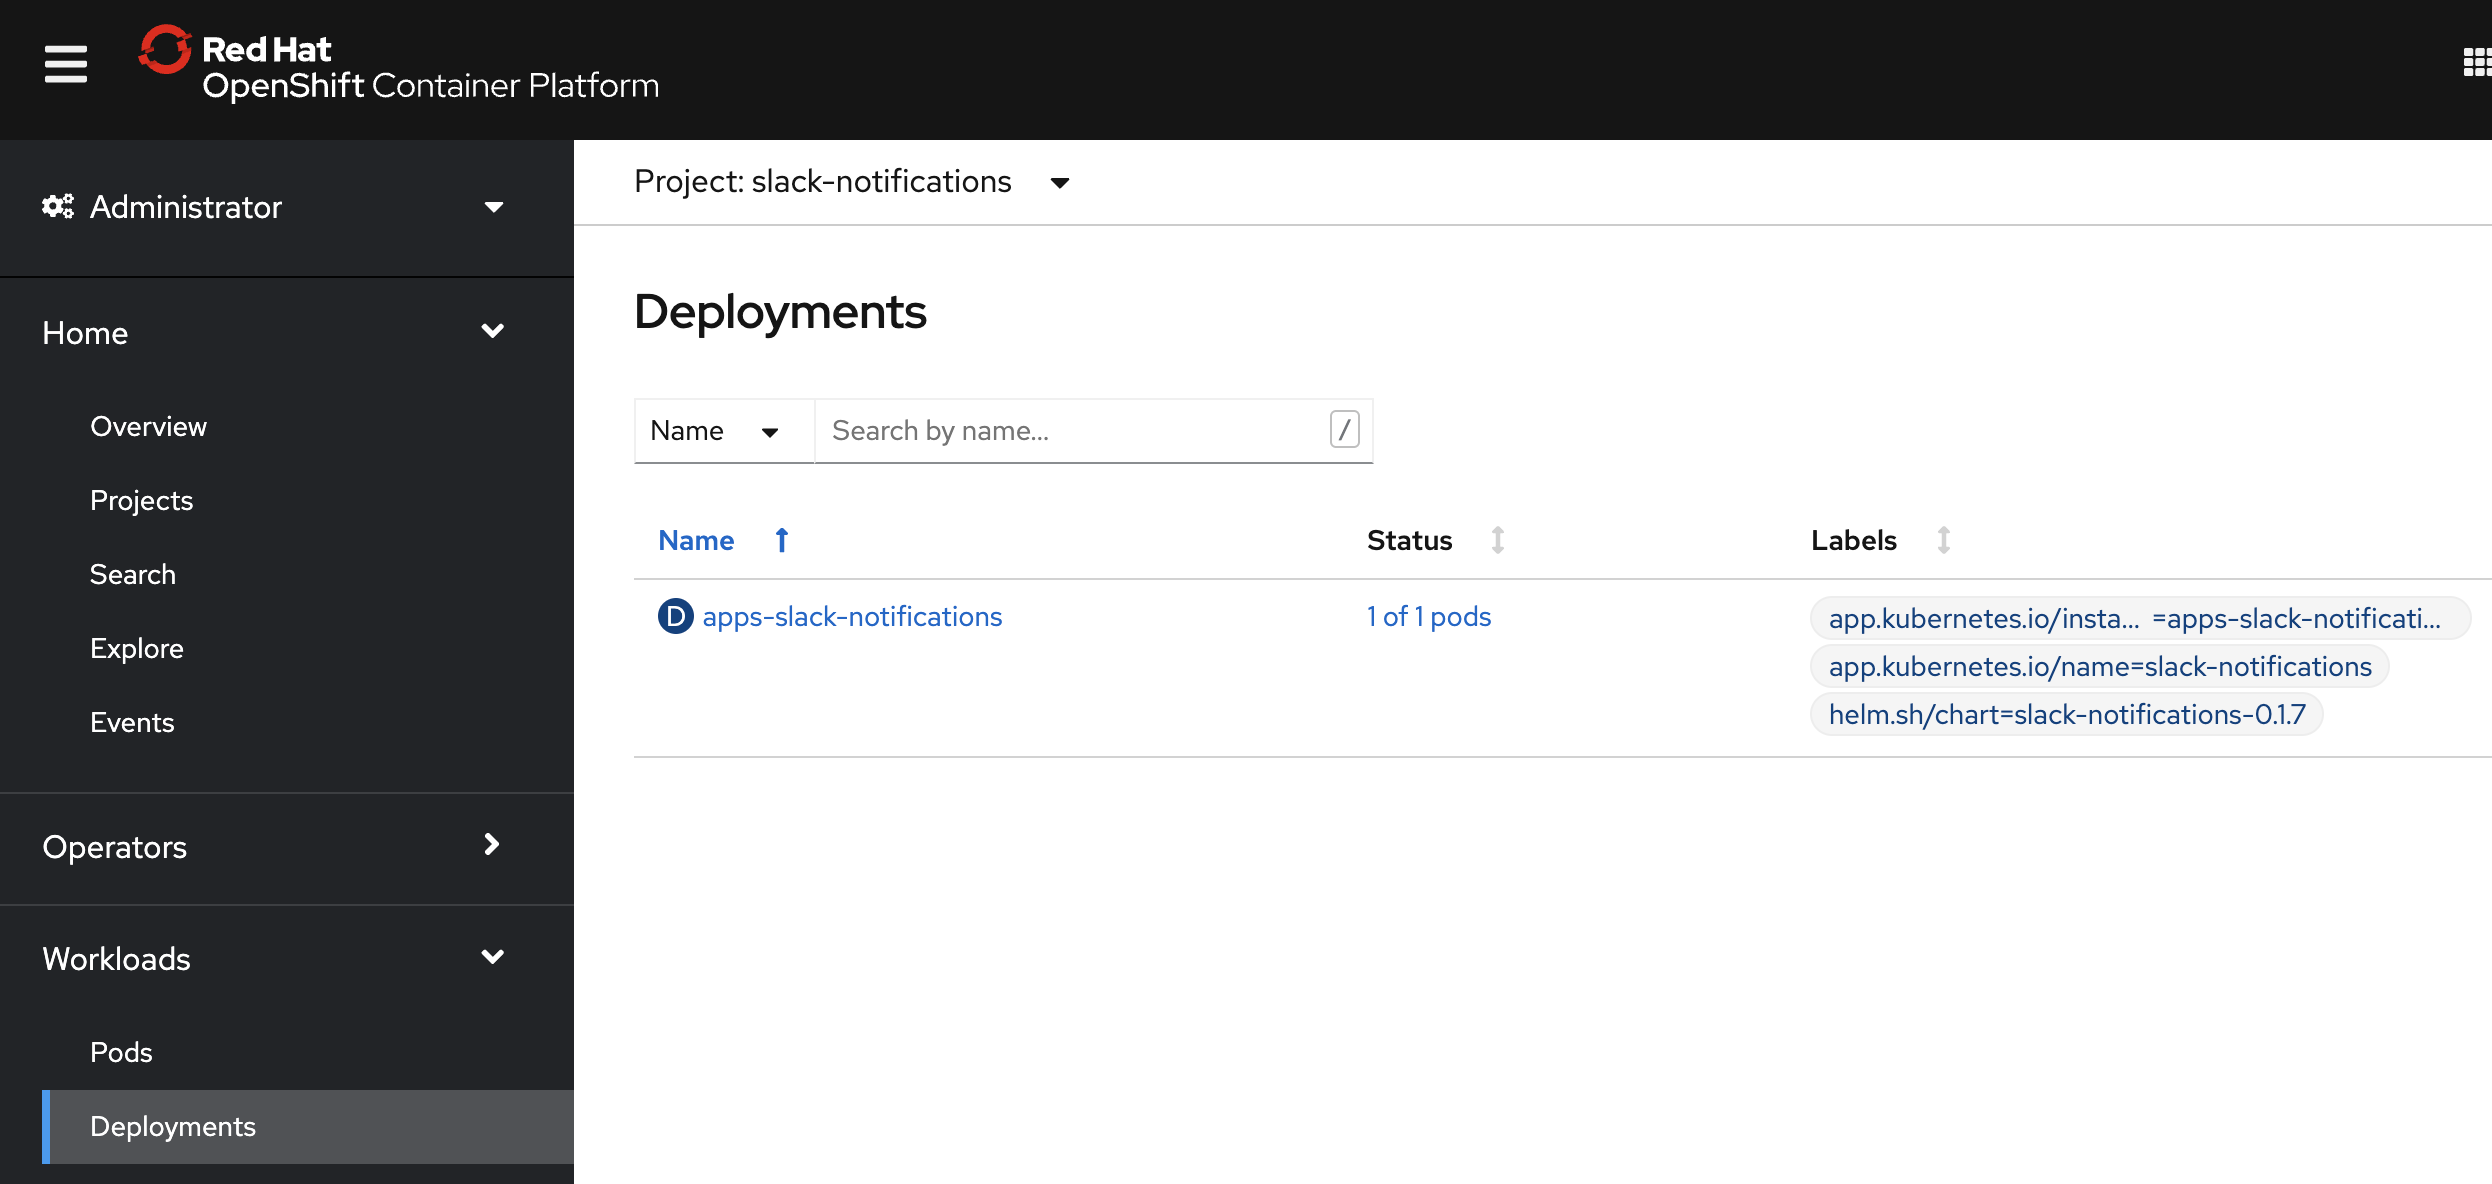
Now when you run Pipelines you will receive Slack Notifications.